Hyundai Tucson: Monitor cover
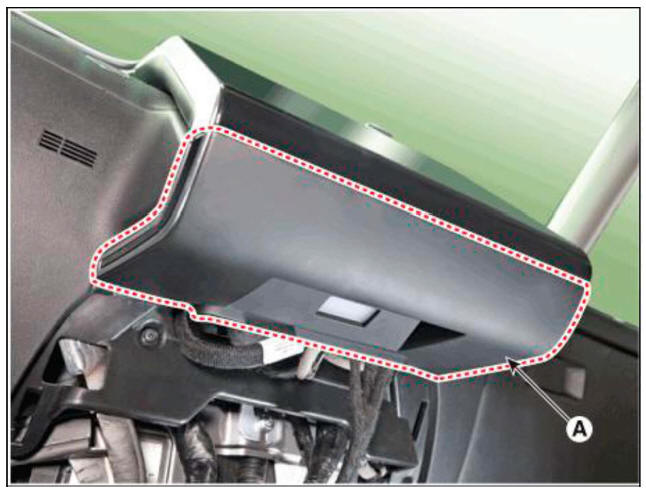
- Remove the front monitor lower cover after disconnecting the mood lamp connector
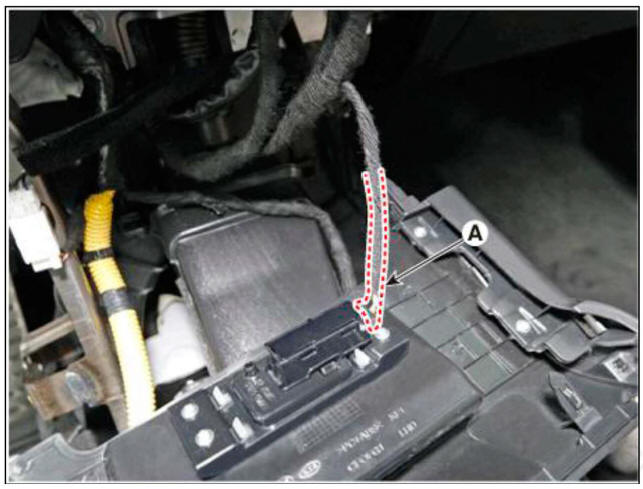
- Remove front monitor side cover (A) and (B).
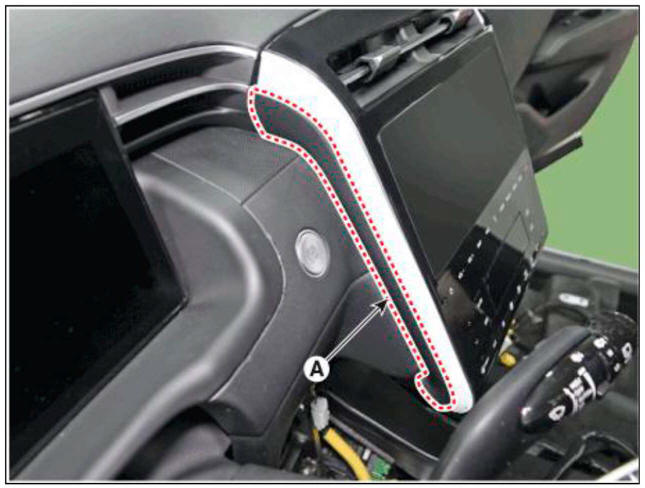
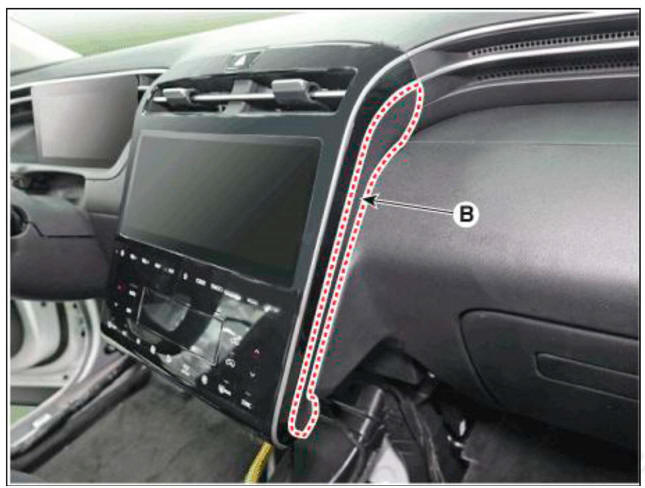
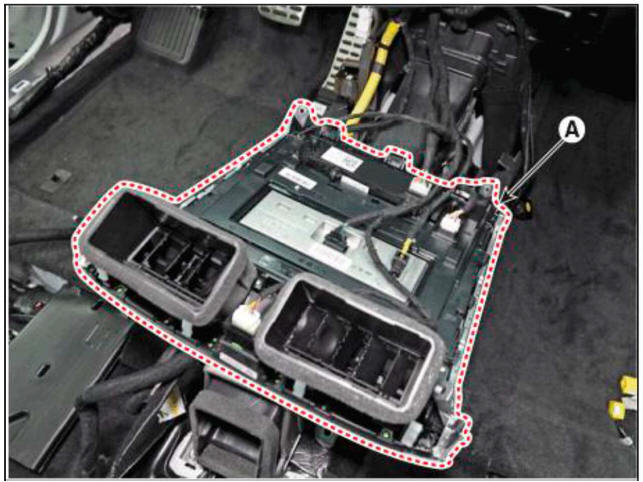
- Remove the front monitor assembly (A).

- Remove the front monitor assembly (A) after disconnecting monitor connectors
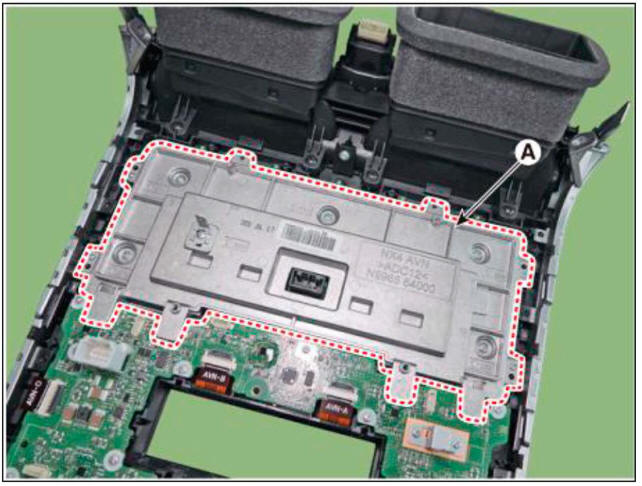
- Remove the front monitor cover (A) after loosening mounting screws.
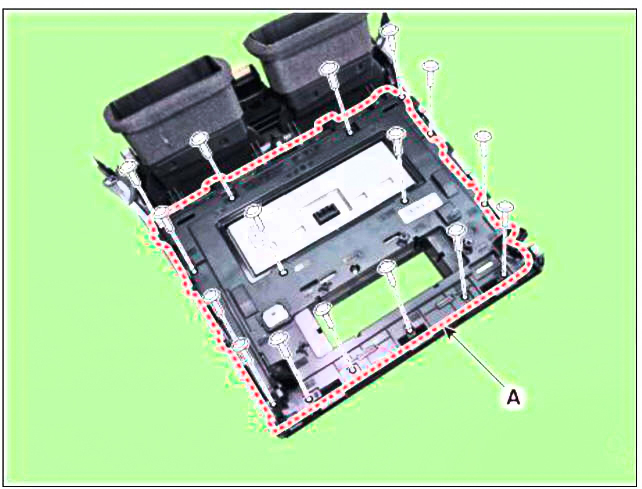
- Remove the front monitor (A) after loosening mounting screws.
Installation
- Install the front monitor.
- Install the front monitor cover.
- Install the front monitor assembly.
- Install the front monitor side cover.
- Install the front monitor lower cover.
- Connect the negative (-) battery terminal.
- Make sure that the cables and connectors are plugged in properly.
- Check the audio system for normal operation.
READ NEXT:
 Multifunction Switch - Components
Steering column
Lighting swtich
Wiper switch
Clock spring
Steering wheel
Driver airbag (DAB)
Specifications
Removal
Disconnect the negative (-) battery terminal.
Remove the clock spring.
(Refer to Restraint - "
Multifunction Switch Inspection
Check for continuity between the terminals in each switch position as
shown below.
Inspection (With Diagnostic Tool)
In the body electrical system, failure can be quickly diagnosed by using
the vehicle diagnostic system (d
SEE MORE:
Driveshaft side oil seal #3 B Typel
Remove the transfer assembly.
(Refer to 4 Wheel Drive (4WD) System - "Front Wheel Transfer Assembly")
Remove the dust cover (A).
Remove the oil seal #2 (A).
Remove the oil seal #3 (A).
Install the oil
Timing System - Installation
Install the crankshaft sprocket (A).
Place the crankshaft key at the left 180º.
Install the oil pump chain.
(Refer to Lubrication System - "Oil Pump")
Install the timing chain (A).
WARNING
When in
Information
- Home
- Hyundai Tucson - Fourth generation (NX4) - (2020-2023) - Owner's Manual
- Hyundai Tucson - Fourth generation (NX4) - (2020-2023) - Workshop Manual
