Hyundai Tucson: General Troubleshooting
Hyundai Tucson - Fourth generation (NX4) - (2020-2023) - Workshop Manual / Body Electrical System / General Information / General Troubleshooting
Information
Before Troubleshooting
- Check applicable fuses in the appropriate fuse/relay box.
- Using the battery checker (MCR-570 KIT), check the battery for damage,
state of charge, and clean
and tight connections.
(Refer to Engine Electrical System - "Battery")
- Do not quick-charge a battery unless the battery ground cable has been disconnected, otherwise you will damage the alternator diodes.
- Do not attempt to crank the engine with the battery ground cable loosely connected or you will severely damage the wiring.
- Check the alternator belt tension (D).
Handling Connectors
- Make sure the connectors are clean and have no loose wire terminals.
- Make sure multiple cavity connectors are packed with grease (except watertight connectors).
- All connectors have push-down release type locks (A).
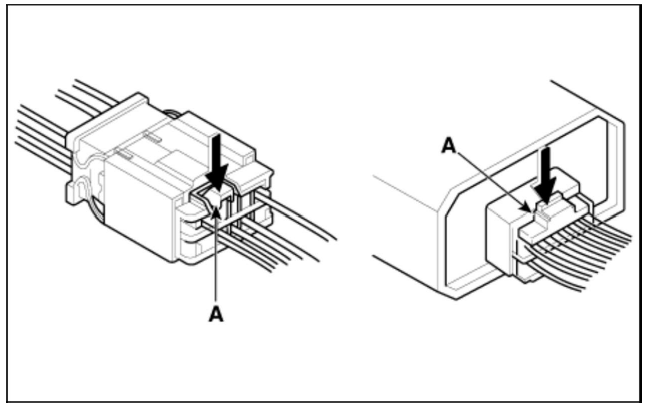
- Some connectors have a clip on their side used to attach them to a mount bracket on the body or on another component. This clip has a pull type lock.
- Some mounted connectors cannot be disconnected unless you first release the lock and remove the connector from its mount bracket (A).
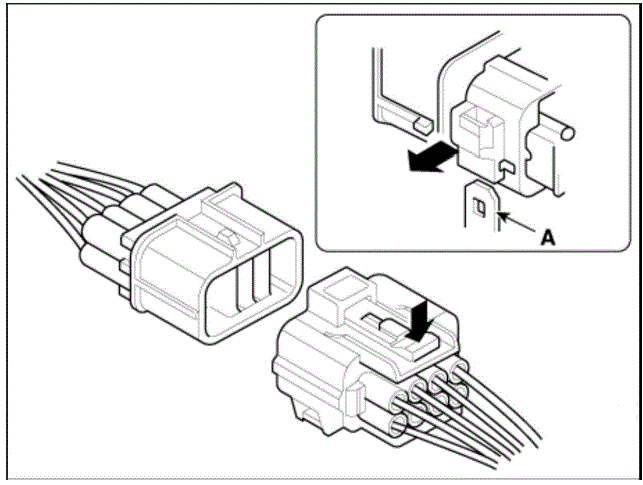
- Never try to disconnect connectors by pulling on their wires pull on the connector halves instead.
- Always reinstall plastic covers.
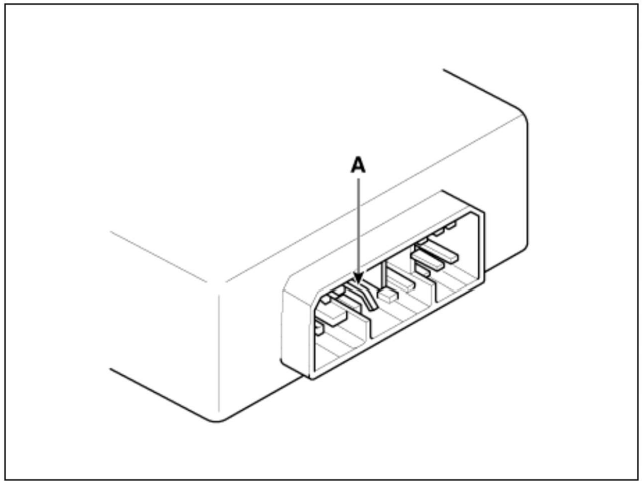
- Before connecting connectors, make sure the terminals (A) are in place and not bent
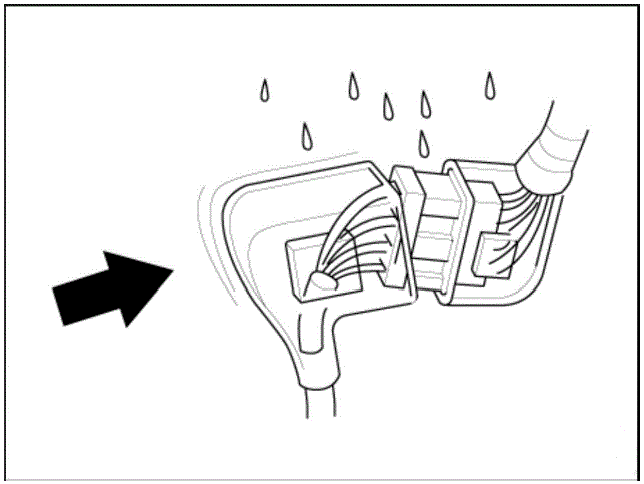
- Check for loose retainer (A) and rubber seals (B).
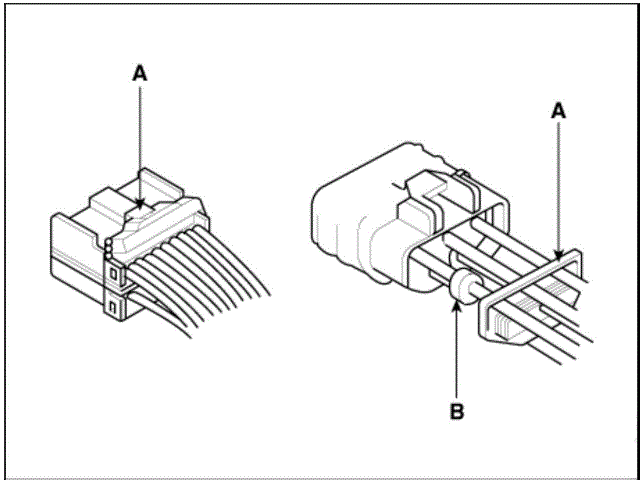
- The backs of some connectors are packed with grease. Add grease if necessary. If the grease (A) is contaminated, replace it.
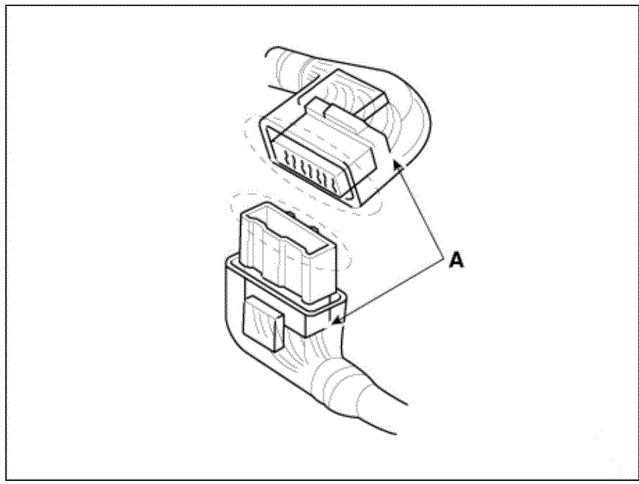
- Insert the connector all the way and make sure it is securely locked.
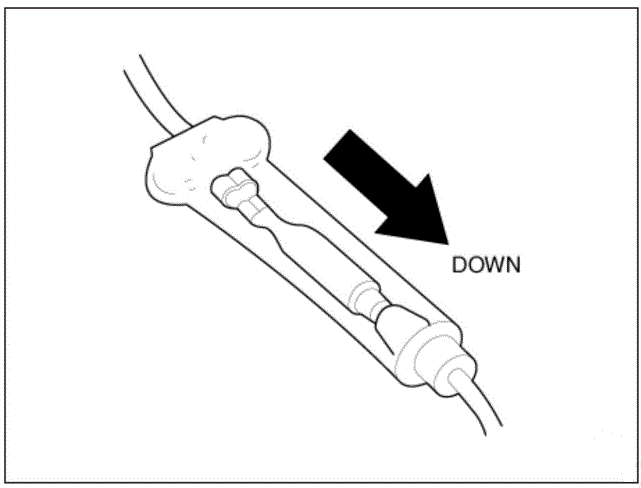
- Position wires so that the open end of the cover faces down.
READ NEXT:
 Handling Wires and Harnesses
Secure wires and wire harnesses to the frame with their respective wire
ties at the designated
locations.
Remove clips carefully; don't damage their locks (A).
Slip pliers (A) under the clip base and through the hole at an ang
Five-step Troubleshooting
Verify the complaint
Turn on all the components in the problem circuit to verify the customer
complaint. Note the
symptoms. Do not begin disassembly or testing until you have narrowed down the
problem area.
Analyze the schematic
Loo
SEE MORE:
Front Suspension System
Components Location
Front sub frame
Steering gear box
Front stabilizer bar
Front lower arm
Front knuckle assembly
Components
Stmt assembly
Spring lower pad
Dust cover
Coil spring
Spring upper pad
Bumper rubber
I
Trailer towing
If you are considering towing with your
vehicle, be sure to take extra precautions
while driving. Only experienced drivers
should consider towing. Plan your trip
accordingly as vehicle speed limits for
vehicles towing trailers may be different.
Information
- Home
- Hyundai Tucson - Fourth generation (NX4) - (2020-2023) - Owner's Manual
- Hyundai Tucson - Fourth generation (NX4) - (2020-2023) - Workshop Manual
